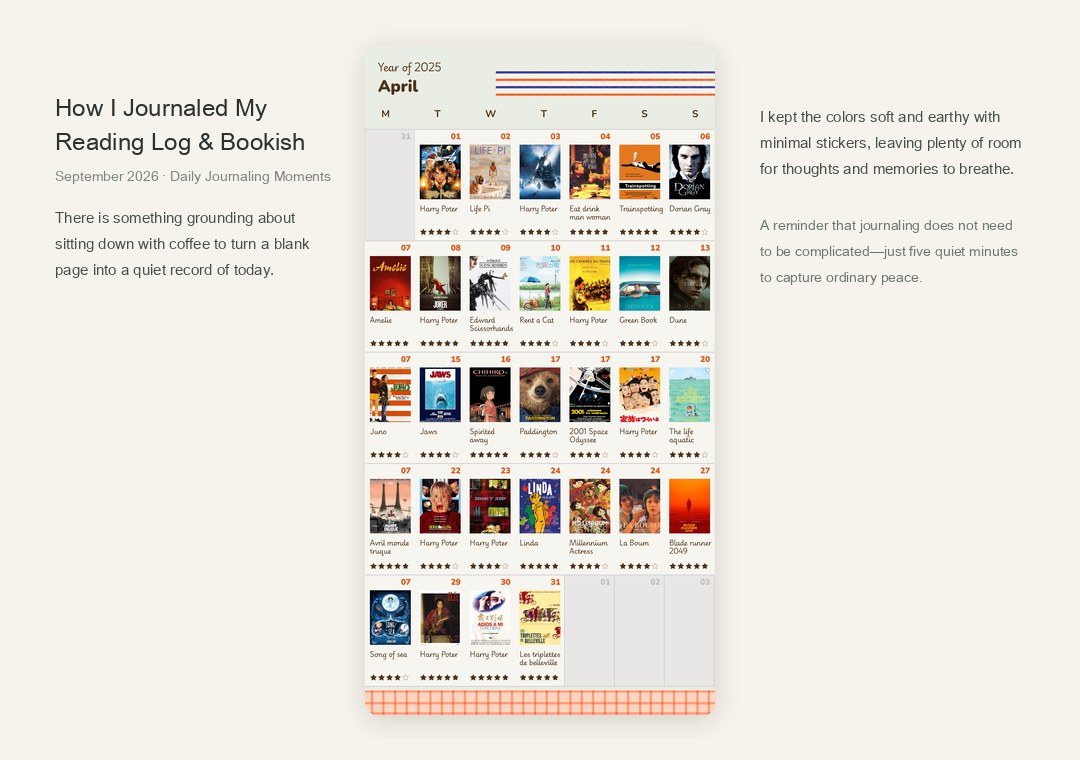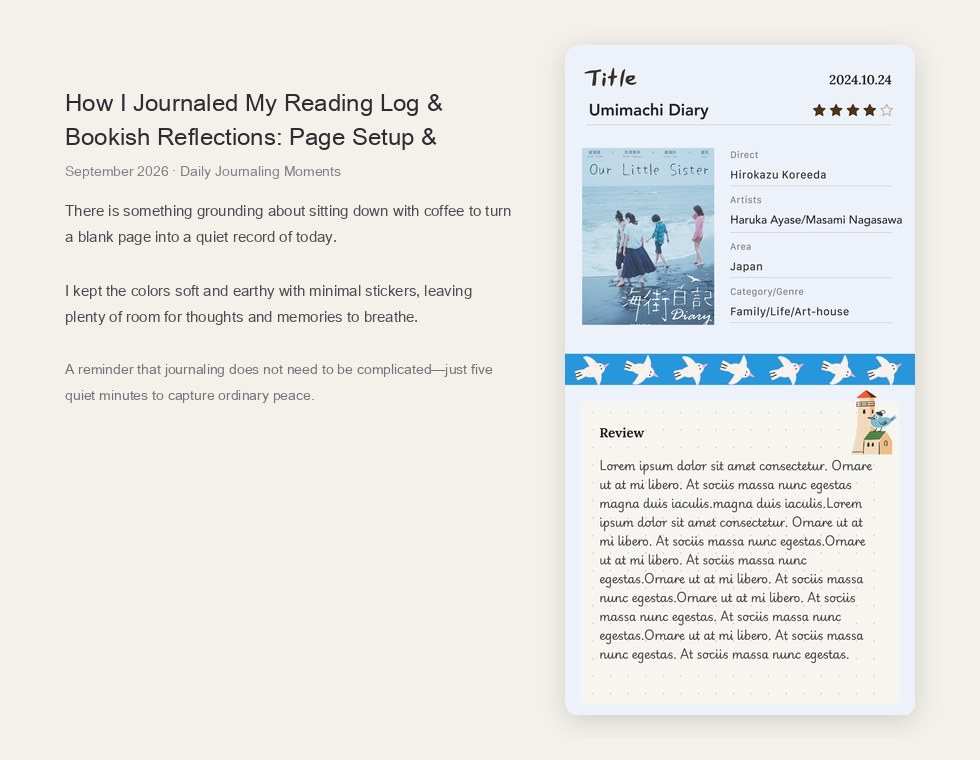
You step off the return train with 240 photos on your camera roll, a bulging pocket of paper receipts, three stamped train tickets, and a blank notebook sitting on your desk.
Within forty-eight hours, the initial excitement of travel collides with creative paralysis. Which photos should you print? What should you do with that wrinkled bakery bag? Where do you even begin arranging things on a blank white page without turning it into a chaotic junk drawer?

Travel journaling often stalls because people try to save everything. When you try to document every single meal, street corner, and souvenir receipt, making a journal feels like an unpaid administrative job rather than a creative reflection.
This guide provides a structured, stress-free method for creating a travel journal you will actually want to open five years from now. We break down the exact photo-filtering rules, explain which paper ephemera to keep or toss, and walk through five classic, field-tested layouts with graphic diagrams and real journal spreads.
1. Case Study Walkthrough: 48 Hours in a Coastal Town
(Demonstration Case: The following coastal itinerary serves as our running example throughout this guide to illustrate real-world curation and layout decisions.)
Imagine a weekend trip to a coastal harbor town. Over forty-eight hours, you took a morning coastal train, explored weathered dockside alleys, had hot clam chowder at a seaside wooden shack, got caught in an unexpected afternoon drizzle on an open tram platform, and hiked up a hill for twilight over the fishing harbor.
Your raw collection by Sunday night:
- Photos: 214 smartphone snapshots.
- Paper Scraps: 12 items (train tickets, coffee cups, receipts, ferry schedule, map flyer, stamped postcard).
- Notebook Target: A standard 4-page spread (two 2-page spreads) in an A5 or Traveler's Notebook.
Let us turn this mountain of raw material into a clean, compelling story.
2. The 8-Photo Curation Framework: From 200 Down to 8
Printing thirty photos creates cluttered, cramped pages where no single image stands out. Worse, thick photo paper makes physical notebooks bulge into an awkward "alligator mouth."
For a weekend trip (or a two-day leg of a longer journey), limit yourself to exactly eight photos. Eight images fit comfortably across two double-page spreads while leaving generous breathing room for handwriting, ticket stubs, and margin notes.

Here is the exact distribution:
Photo 1: The Establishing Wide Shot (1 Photo)
One wide-angle image that anchors the location. This is not a generic stock landscape; it is the view as you arrived.
- Coastal Case Study: The morning harbor dock shrouded in low sea mist with fishing boats tied to weathered wooden bollards.
Photos 2 & 3: Candid Human Moments (2 Photos)
Skip rigid, posed tourist snapshots in front of monuments. Look for genuine emotion, posture, or interaction.
- Coastal Case Study: Your travel companion shielding their face against salt spray while laughing on the ferry deck; an elderly dockworker untying a thick, brine-soaked nylon rope.
Photos 4 & 5: Macro & Sensory Textures (2 Photos)
These close-ups trigger physical memory—taste, smell, and touch.
- Coastal Case Study: A close-up of the steaming clam chowder bowl with a cracked ceramic rim; the worn brass door knocker of a 90-year-old seaside bakery.
Photos 6, 7 & 8: Narrative Story Vignettes (3 Photos)
Photographs that record transitions, small surprises, or comical travel mishaps.
- Coastal Case Study: The wooden tram bench where you waited out a 20-minute rain shower; a quirky, hand-painted wooden sign warning pedestrians about hungry harbor gulls; the twilight bicycle parked against a mossy seawall.
The Sensory Filter: When choosing between two photos, discard the one with better composition and keep the one with stronger sensory memory. A slightly grainy picture of raindrops on a tram window will bring back the smell of damp wool and the clatter of iron rails much better than a flawless postcard shot of the town hall.
3. Ephemera Curation: What to Keep vs. What to Toss
"Ephemera" refers to collectible paper scraps from everyday life. In travel journaling, paper scraps add authentic tactile history that photos alone cannot replicate. However, not all paper deserves a spot in your notebook.
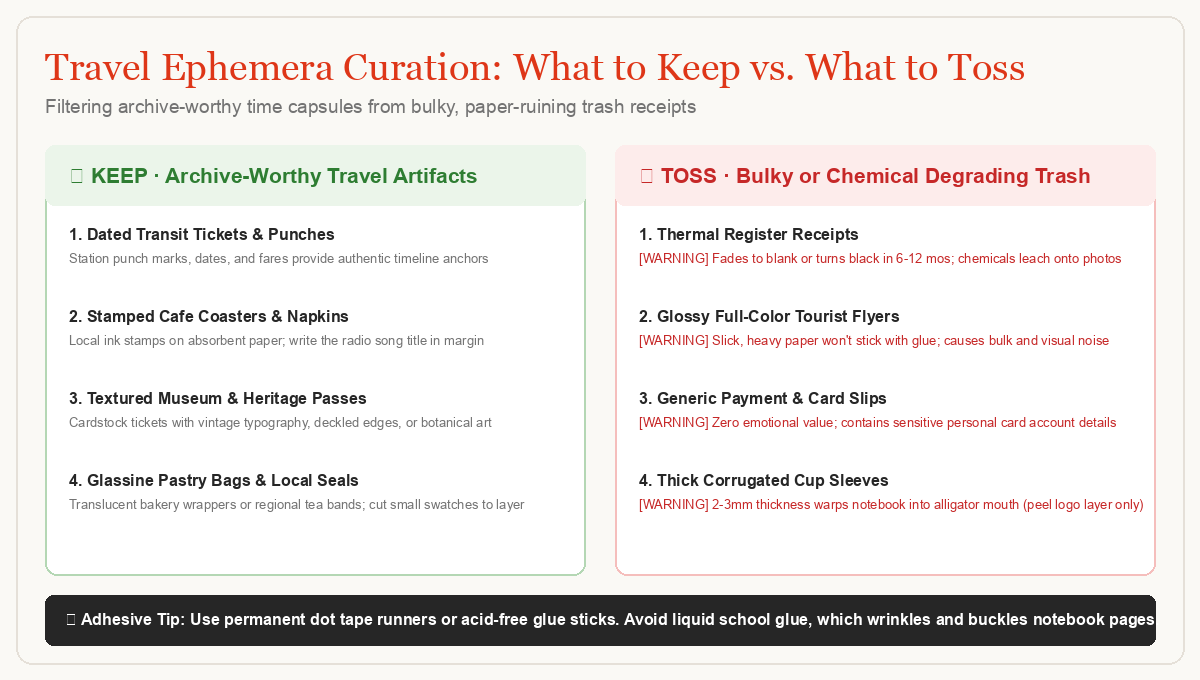
What to Keep
- Dated Transit Tickets: Local train, ferry, or funicular stubs with printed dates, fare numbers, and station punch marks. They offer typography and authentic time markers.
- Stamped Coasters and Napkins: Coffee shop coasters with custom logo stamps or paper napkins where you jotted down a song heard on the cafe radio.
- Textured Museum or Park Tickets: Tickets printed on matte cardstock, handmade craft paper, or tickets featuring distinctive regional graphic design.
- Local Product Packaging: The glassine paper wrapper from a local pastry, a botanical label from regional tea, or a luggage tag.
What to Toss
- Thermal Paper Receipts: Supermarket and convenience store register slips use heat-sensitive chemical coatings. Within six to twelve months, they turn black, fade to blank grey, or leave greasy chemical stains on opposing notebook pages. If a receipt contains an important expense list, transcribe the numbers by hand or photograph it.
- Glossy Tourist Brochures: Thick, slick advertising flyers do not adhere well with glue sticks, add unnecessary paper bulk, and lack personal connection.
- QR Code Slips & Credit Card Slips: Payment terminal printouts contain sensitive payment data and zero emotional resonance.
- Thick Corrugated Sleeves: Coffee cup sleeves add too much thickness. If you love the illustration on the sleeve, peel off only the top paper layer and discard the corrugated cardboard backing.
Adhesives Matter
Avoid liquid school glue (white PVA glue), which wrinkles paper and warps notebook pages. Use a permanent tape runner (such as a Tombow Mono or Kokuyo Dotliner) or an archival-grade acid-free glue stick. For items you may want to reposition, use washi tape.
4. Five Field-Tested Travel Journal Layouts
Once your eight photos are printed and your ephemera is sorted, choose one of these five structural layouts to organize your spreads.
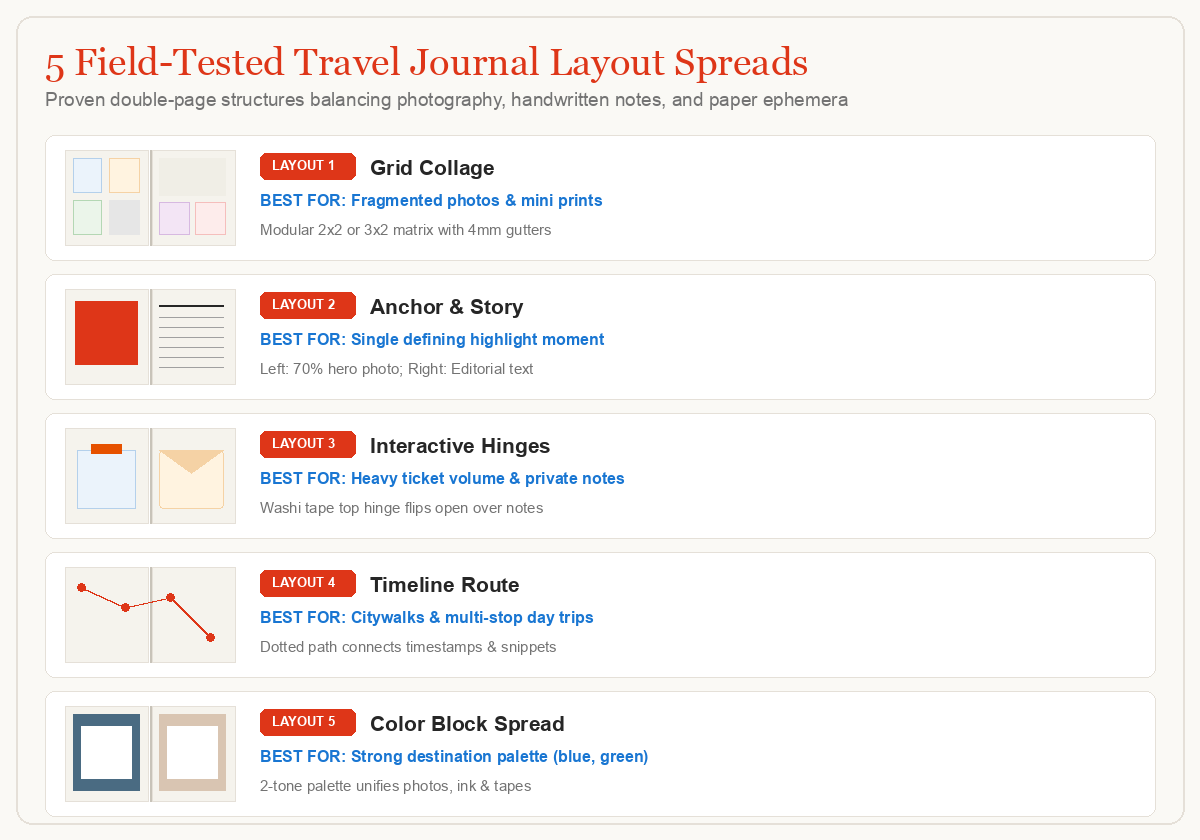
Layout 1: The Grid Collage (Best for Fragmented Moments)
The Grid Collage works well for pocket prints (such as 2x3-inch Zink or Instax mini prints), rubber stamps, and small ticket stubs. It brings order to diverse pieces through structured alignment.
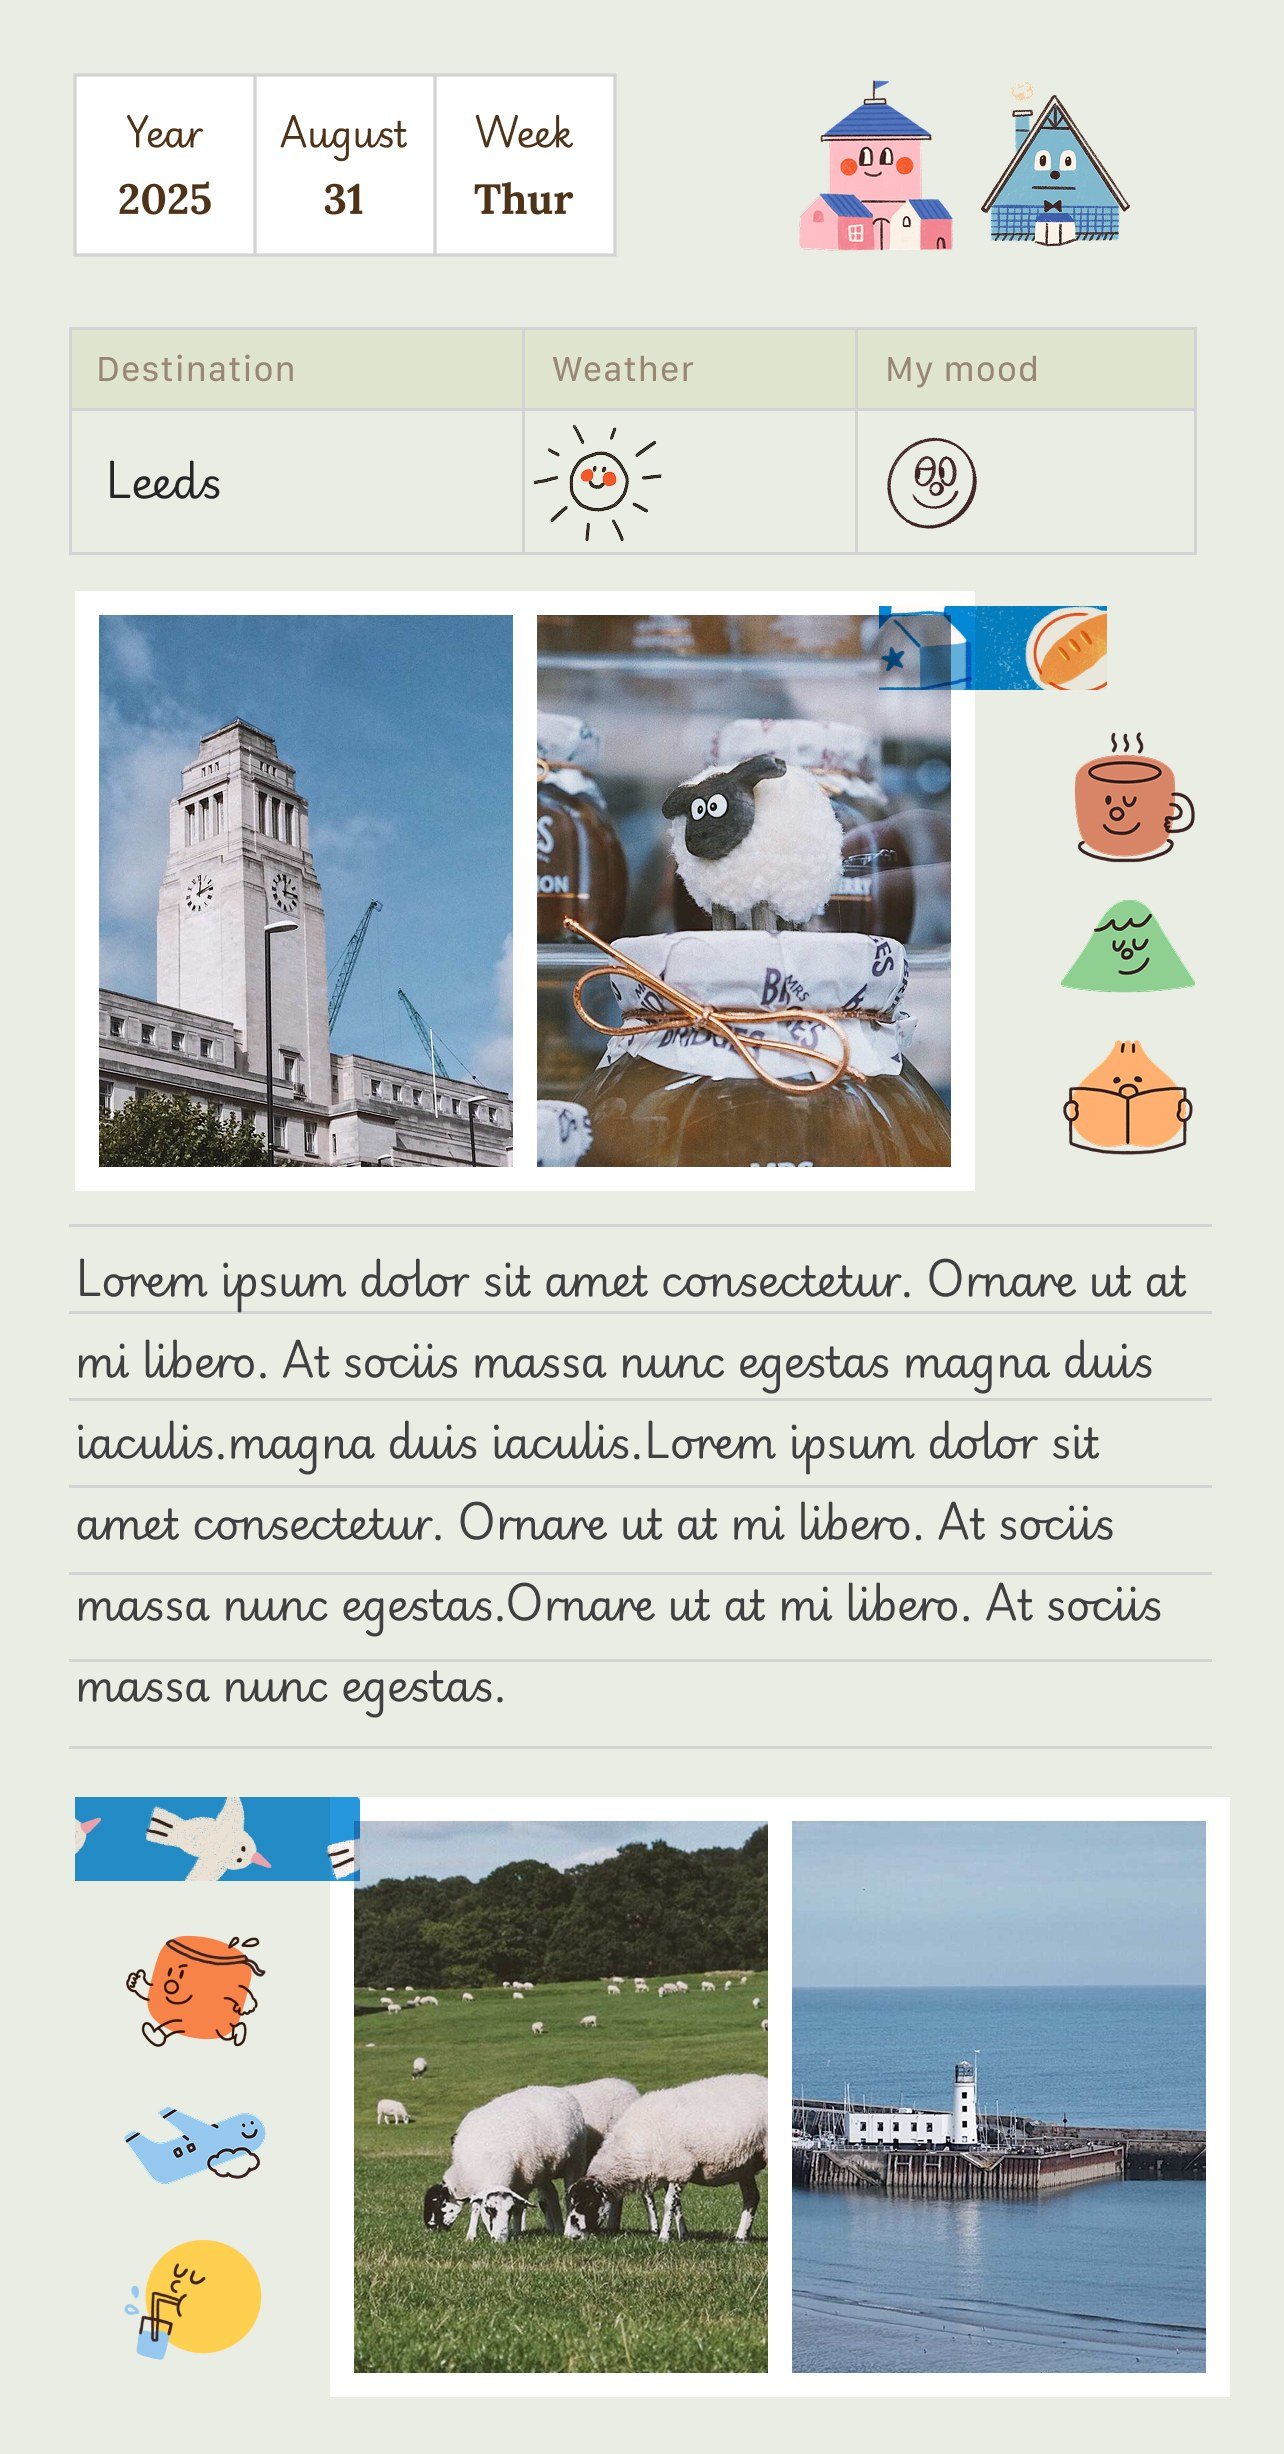
- How to Build It: Divide your two-page spread into a virtual 3x2 or 2x2 grid. Maintain a consistent 4–5 mm gap (gutter) between each item. Reserve at least one quadrant entirely for handwritten commentary so the spread reads like a story rather than a sticker album.
- Rule of Thumb: Place darker photos toward the bottom or outside corners to visually anchor the spread.
Layout 2: Anchor & Story (Best for a Single Defining Moment)
When one specific experience defined your day—such as reaching a high mountain overlook or spending an afternoon talking with a local craftsperson—give that memory the spotlight with a magazine-style editorial layout.
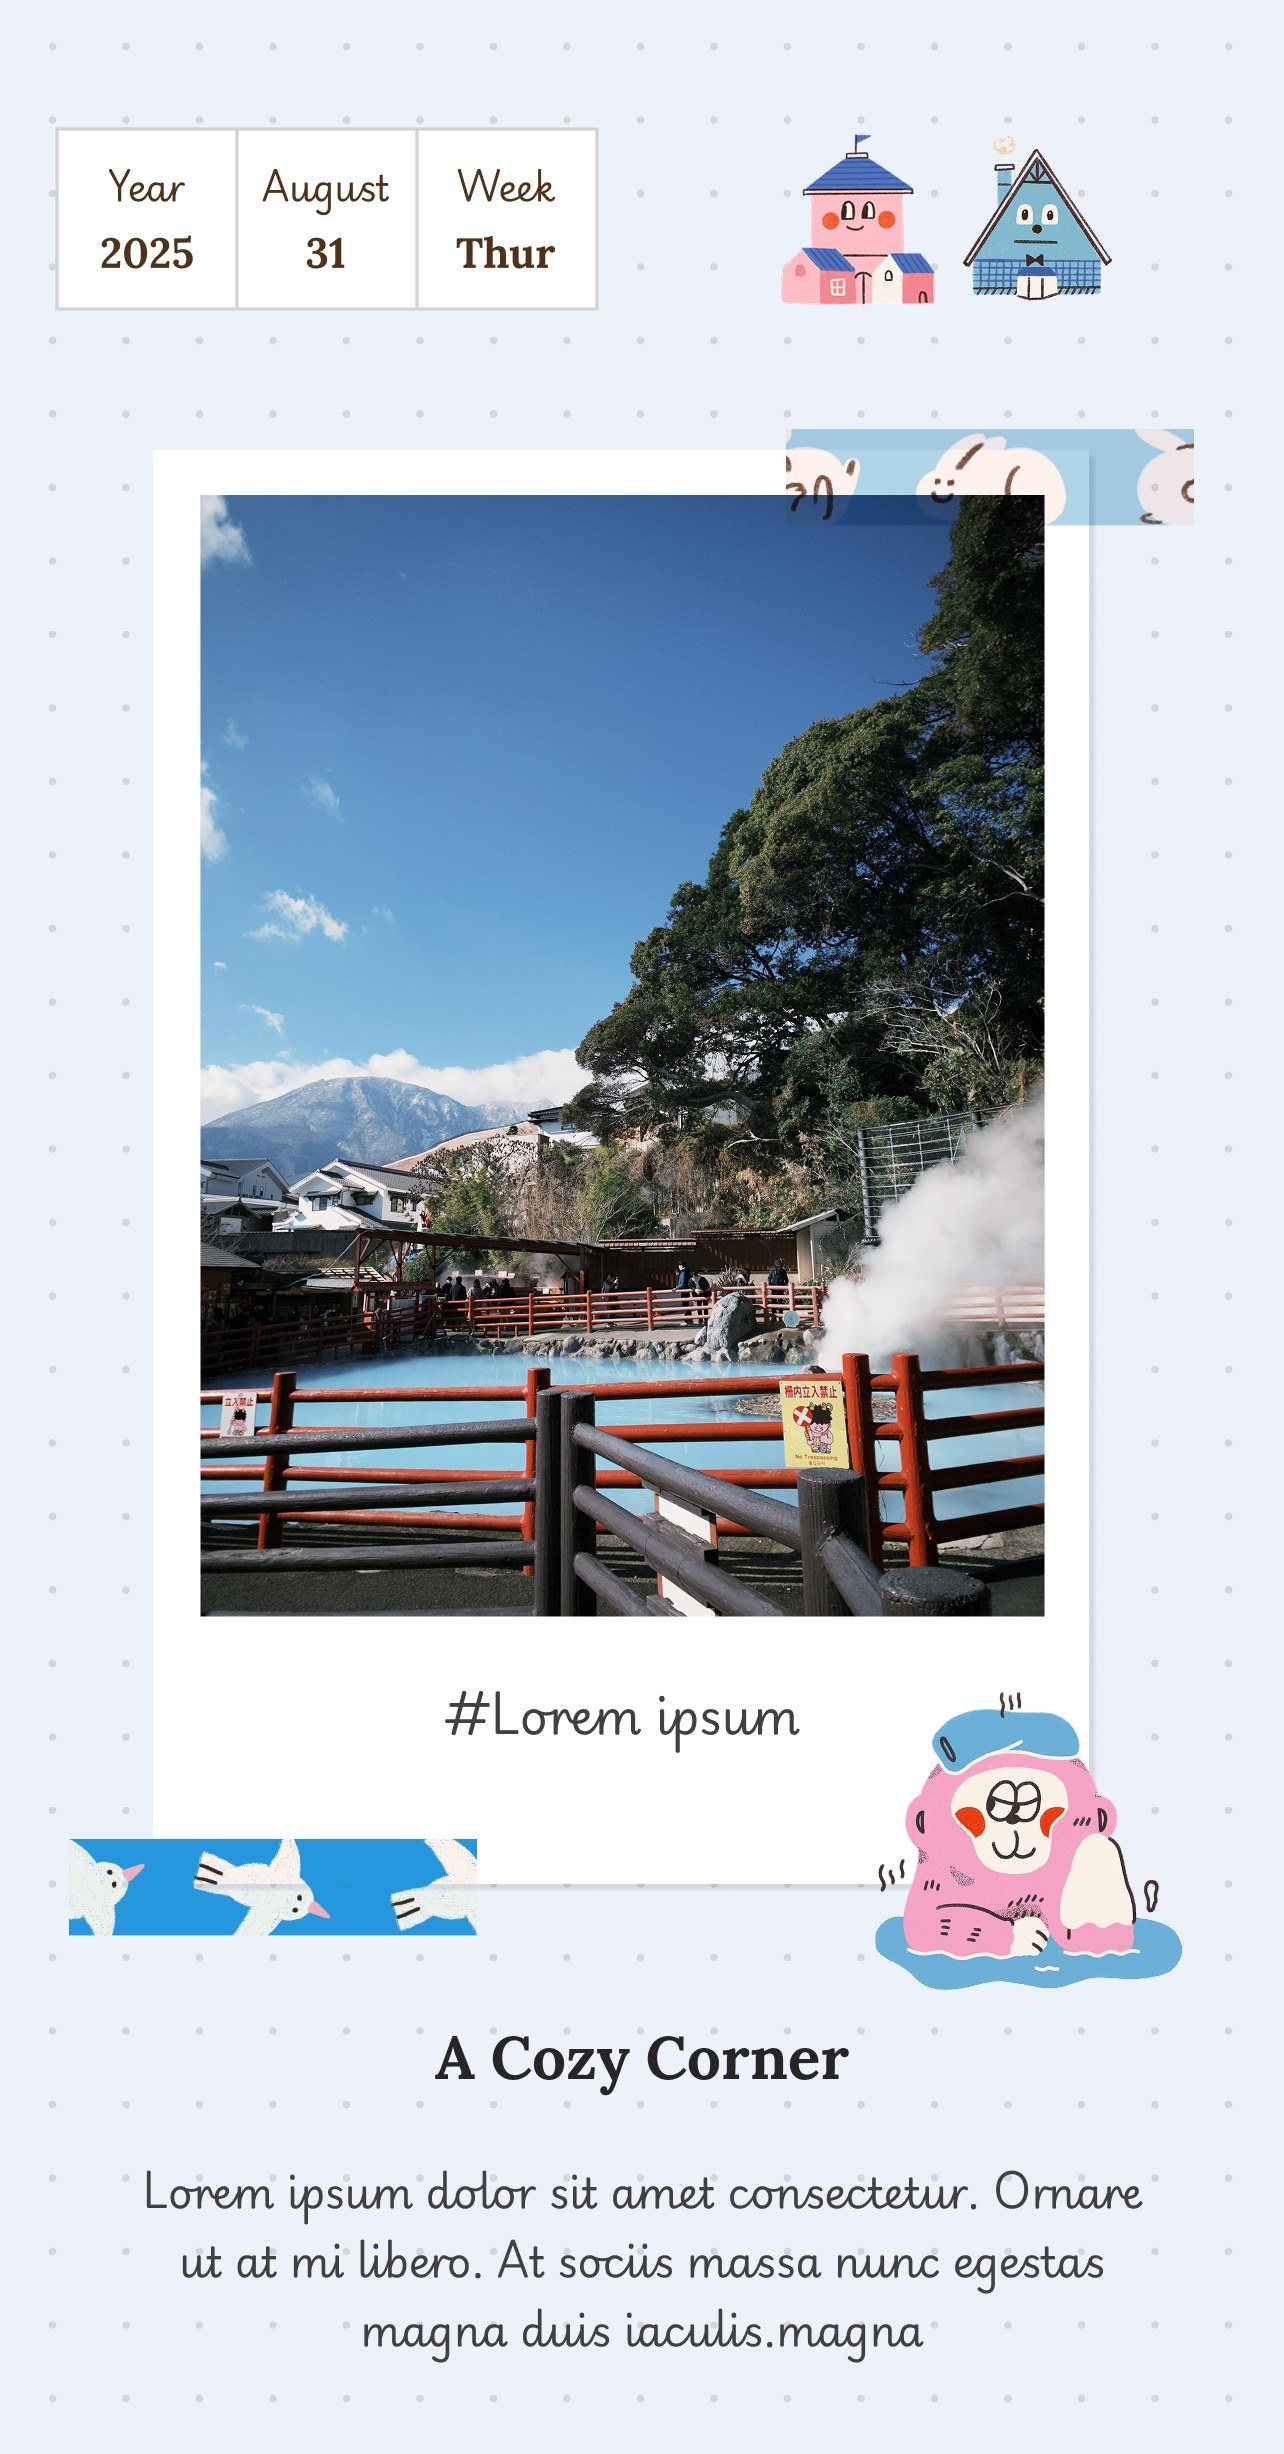
- How to Build It: Dedicate 60–70% of the left page to one large photograph (4x6 inches or full half-page). Keep the right page clean with an editorial headline, a bold drop-cap initial, and paragraphs of handwritten reflections.
- Pro Tip: Balance the large image on the left with a memorable pull quote or a single brass paperclip holding a ticket stub on the right.
Layout 3: Interactive Hinges & Glassine Pockets (Best for High Paper Volume)
When you have multiple transit tickets, museum pamphlets, or private postcards that you cannot bear to throw away, do not tile them all across the page. Make your journal interactive.
- The Washi Tape Hinge: Place a strip of washi tape along the top edge of a photo or postcard, sticking half the tape to the photo and half to the notebook page. The photo becomes a flip-up door: you can write personal notes, candid reflections, or budget numbers beneath it.
- The Glassine Pocket: Glue a small translucent glassine or kraft envelope onto the right page. Slip your folded map and tickets inside. You preserve the physical artifacts without covering your writing surface.
Layout 4: The Timeline Route Map (Best for Walking Tours & Day Trips)
If your journey involved wandering through winding alleys, taking multiple trains, or following an itinerary with distinct sequential stops, a timeline layout provides natural movement.
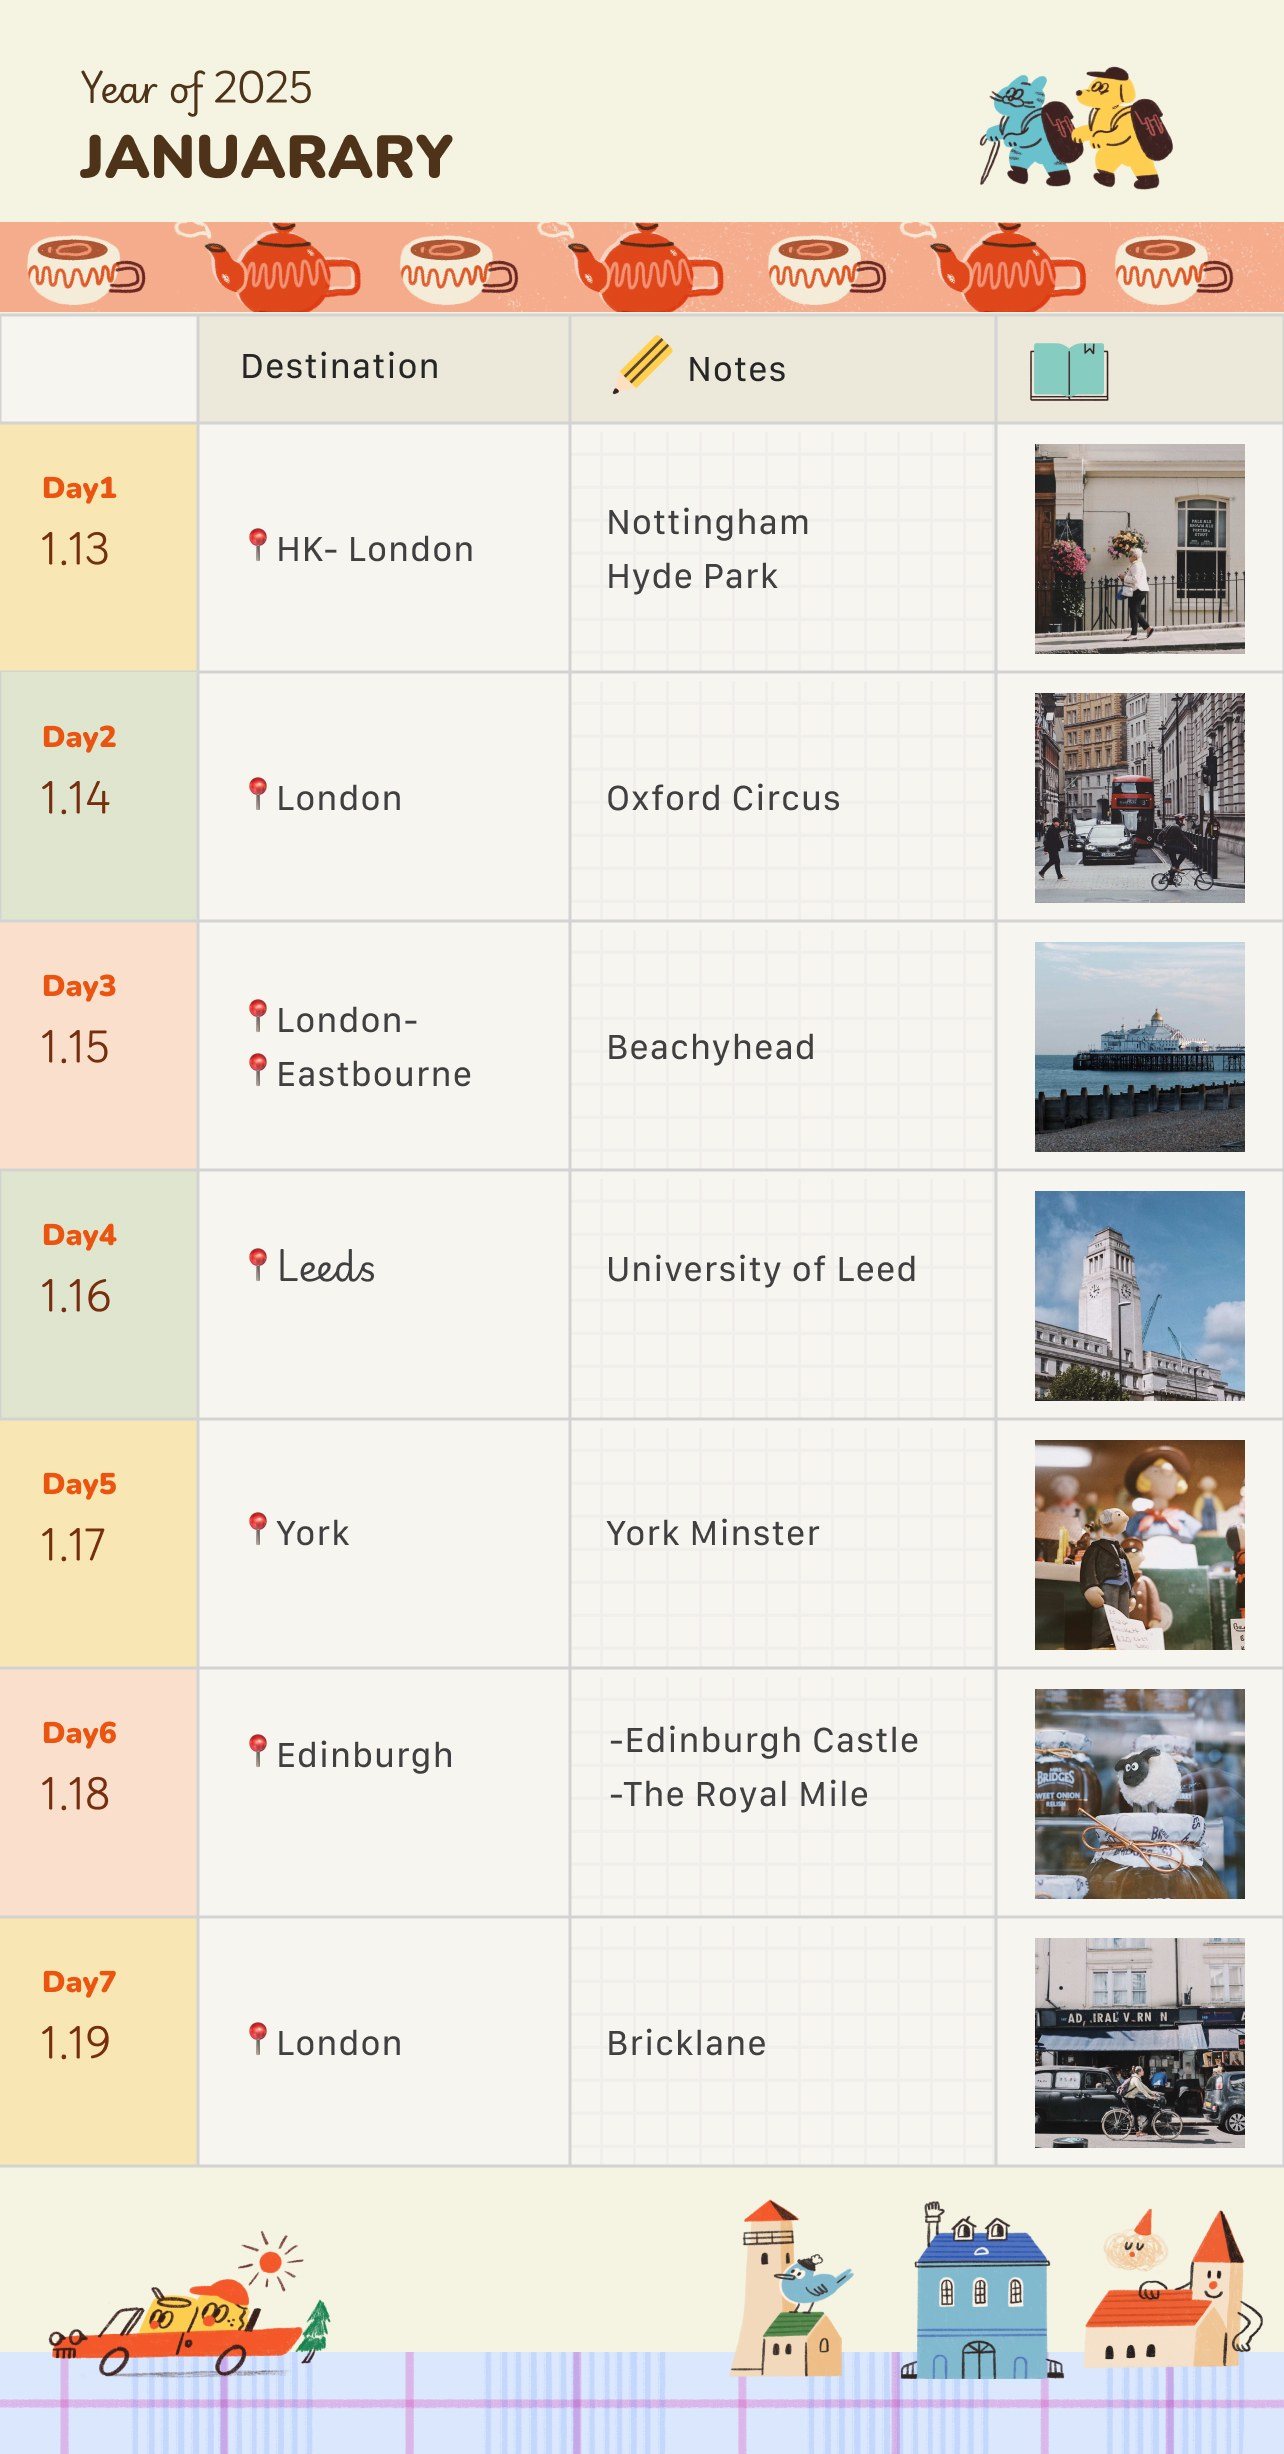
- How to Build It: Draw a gentle, winding dashed line across the double spread from left to right. Along this trail, pin timestamps (e.g.,
08:30,11:45,14:20,18:00), affixing mini thumbnail prints and short 2–3 sentence observations beside each stop. - Pro Tip: Add small rubber-stamp symbols (a coffee cup, a train car, a rain umbrella) next to the timestamps to establish quick visual context.
Layout 5: The Color Block Spread (Best for Days with a Distinct Palette)
Every travel destination has a natural color scheme: the mossy greens and cedar browns of a temple forest; the terracotta orange and limestone white of an old Mediterranean street; the indigo blue and weathered silver-grey of a harbor town.
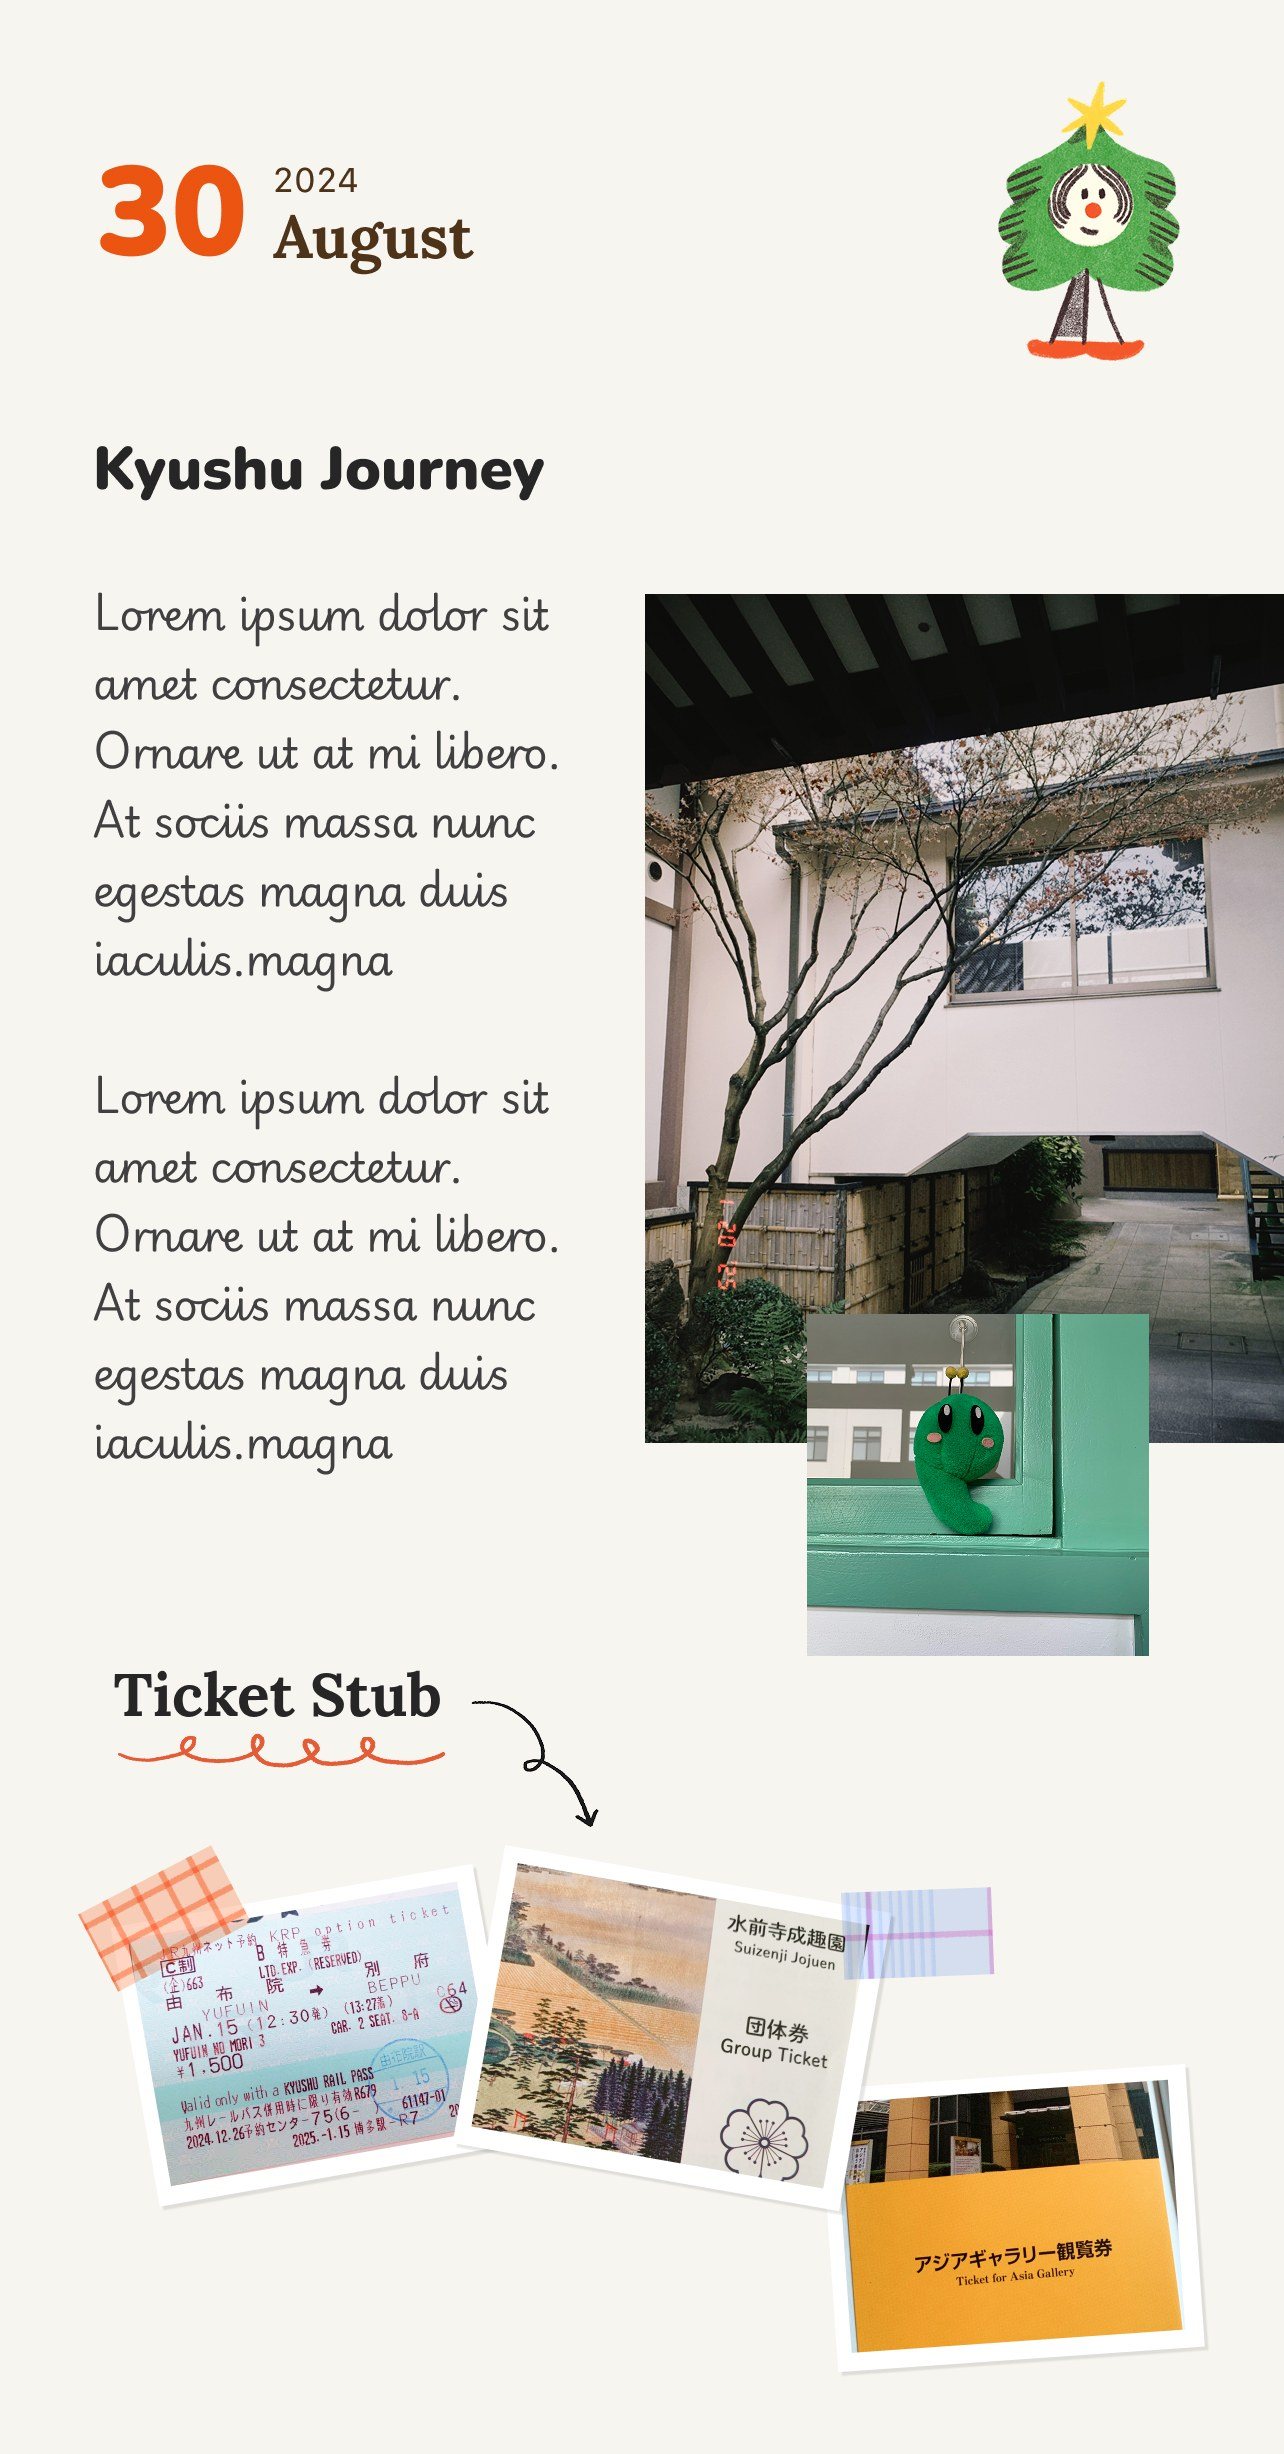
- How to Build It: Select two dominant colors from your day. Choose paper scraps, washi tape, and ink that match these shades. Mount photos on small paper backings cut from matching brochure scraps or packaging.
- Why It Works: Restricting the palette creates cohesive harmony, even when your handwriting is imperfect or your photos have differing lighting conditions.
5. Notebook Formats & Community Standards
Choosing the right physical format sets the foundation for your journal's lifespan.
Notebook Sizing
- Traveler's Notebook Regular (210 × 110 mm): The gold standard of travel journaling. Its slim, tall proportions fit neatly into a jacket pocket or daypack, and its vertical format accommodates tall transit tickets and vertical mobile phone photos without awkward trimming.
- Traveler's Notebook Passport (124 × 89 mm): Ideal for minimalists who only want to carry a single pen and stamp station marks on the go. Fits standard Instax mini prints.
- A5 Grid / Dot-Grid Notebook (210 × 148 mm): The most flexible choice for spacious storytelling, wider photo collages, and postcards.
Photo Printing Ratios
Most smartphone cameras shoot in 4:3 or 16:9, whereas standard photo paper prints in 3:2. Before printing on portable field printers (such as Canon Selphy, Fujifilm Instax Share, or Zink printers), crop your images to match your intended page layout. Square 1:1 crops work well in Grid Collages, while 3:2 landscape crops suit the Anchor & Story layout.
6. Going Digital or Hybrid: A Practical Modern Workflow
While paper and glue provide irreplaceable tactile satisfaction, traveling with portable photo printers, sticker pouches, glue rollers, and scissors can be impractical when packing light. Many journals end up abandoned simply because printing and cutting photos takes too much time after returning home.
This is where a hybrid or digital journaling approach helps.
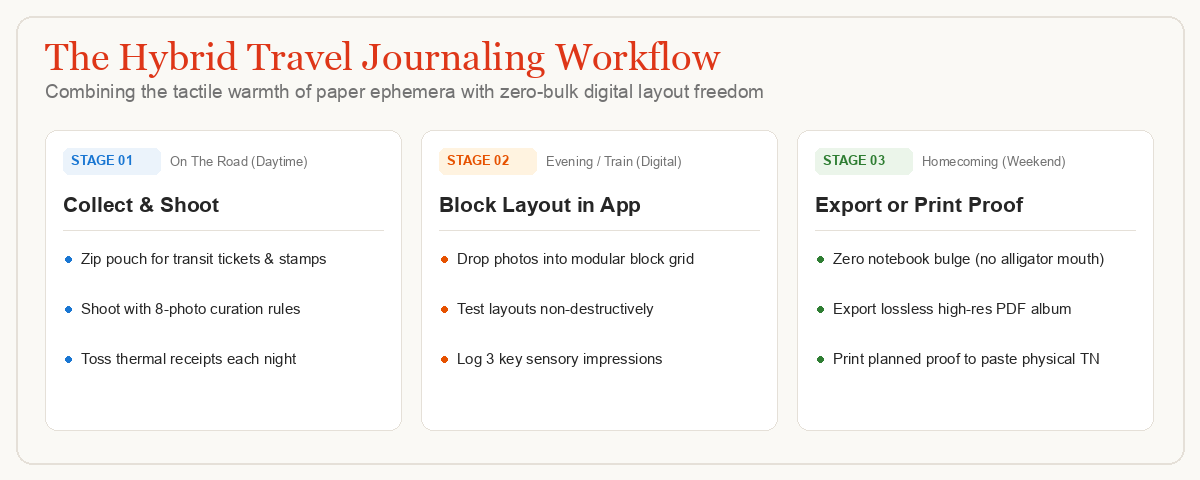
Eliminating the "Alligator Mouth"
Physical scrapbooks that hold dozens of photos and cardstock tickets swell to twice their original thickness, straining the binding. Digital journals store high-resolution photos, scanned ephemera, and voice notes without adding any physical bulk.
Modular Block-Based Layout in CanJournals
If you prefer keeping digital journals on an iPad or iPhone, CanJournals applies a modular, block-based system to aesthetic journaling.
- Non-Destructive Grid Testing: Instead of guessing where to glue physical photos, you can drop images into responsive grid blocks, swap positions, and resize columns without wasting photo paper.
- Digital Washi Tape & Stamp Placement: Layer decorative washi tapes, travel stamp stickers, and paper textures freely. If a tape pattern clashes with your photo palette, swap it in two taps.
- Apple Pencil & Handwriting Integration: Combine typed narrative blocks with natural Apple Pencil sketches, marginal notes, and route arrows, preserving personal handwriting without messy correction fluid.
- High-Resolution Archival Export: Export finished travel spreads as full-bleed PDFs or high-resolution images, ready to print as a hardbound travel book at the end of the year.
7. Travel Journal Checklist: Before, During & After
Keep this three-step workflow handy for your next departure:
Before Departure
- Choose your notebook format (Traveler's Notebook Regular or an iPad digital canvas).
- Pack one archival tape runner and two reliable waterproof pens (black and sepia).
- Slip an acid-free glassine pouch or ziplock bag into your bag for collecting loose paper scraps.
On the Road
- Shoot with the Rule of 8 in mind: look for candid faces, macro food textures, and narrative story beats rather than endless wide landscapes.
- Check every paper scrap: keep dated transit passes and stamped coasters; throw away thermal receipts immediately.
- Jot down 3–5 bullet points of sensory memory each night before sleeping (sounds, smells, conversations).
After Returning Home
- Select your 8 core photos and crop them to uniform aspect ratios.
- Pick one of the five layout archetypes (Grid, Anchor, Interactive, Timeline, or Color Block).
- Assemble the spread within 72 hours while the atmosphere of the trip is still fresh in your mind.
Travel journaling is not about creating a flawless gallery exhibit; it is about capturing how a specific place felt to you at a specific moment in time. Focus on sensory details, be selective with your materials, and let the page breathe.
8. Frequently Asked Questions (FAQ)
How do I prevent paper ticket stubs and thermal receipts from fading?
Answer: Thermal receipts fade completely within 6 to 12 months when exposed to heat and daylight. To preserve them, take a high-resolution photo or scan on the day of purchase, or coat the back with acid-free adhesive without touching thermal print surfaces. In CanJournals, you can snap a photo of paper tickets and place them in dedicated digital ephemera blocks alongside your journal spread.
Should I print travel photos on the road or wait until I return home?
Answer: Waiting until you return home is significantly more practical. Traveling with portable field printers, sticker bags, and tape rolls adds unnecessary luggage bulk. On the road, simply keep an acid-free pouch for tickets and jot down three to five sensory bullet points each night. Assemble the full visual spread within 72 hours of returning home while your memories remain vivid.
How do I stop my physical travel scrapbook from bulging into an alligator mouth?
Answer: Physical scrapbooks swell when thick cardstock tickets, postcards, and photo paper are pasted onto consecutive pages. To prevent binding strain, remove notebook blank pages in advance, stick to single-weight paper, or adopt a hybrid digital approach like CanJournals where high-resolution photo collages and stamps add zero physical thickness.
How many photos should I include on a single travel journal page?
Answer: Stick to the Rule of 8: curate a master set of eight photos per destination or day. Feature one or two hero anchor images sized large, and arrange four to six supporting micro-details (food textures, street signs, transit maps) in a clean grid or column to avoid visual clutter.